Air Handler Troubleshooting: Fan, Control Board, and Airflow Issues
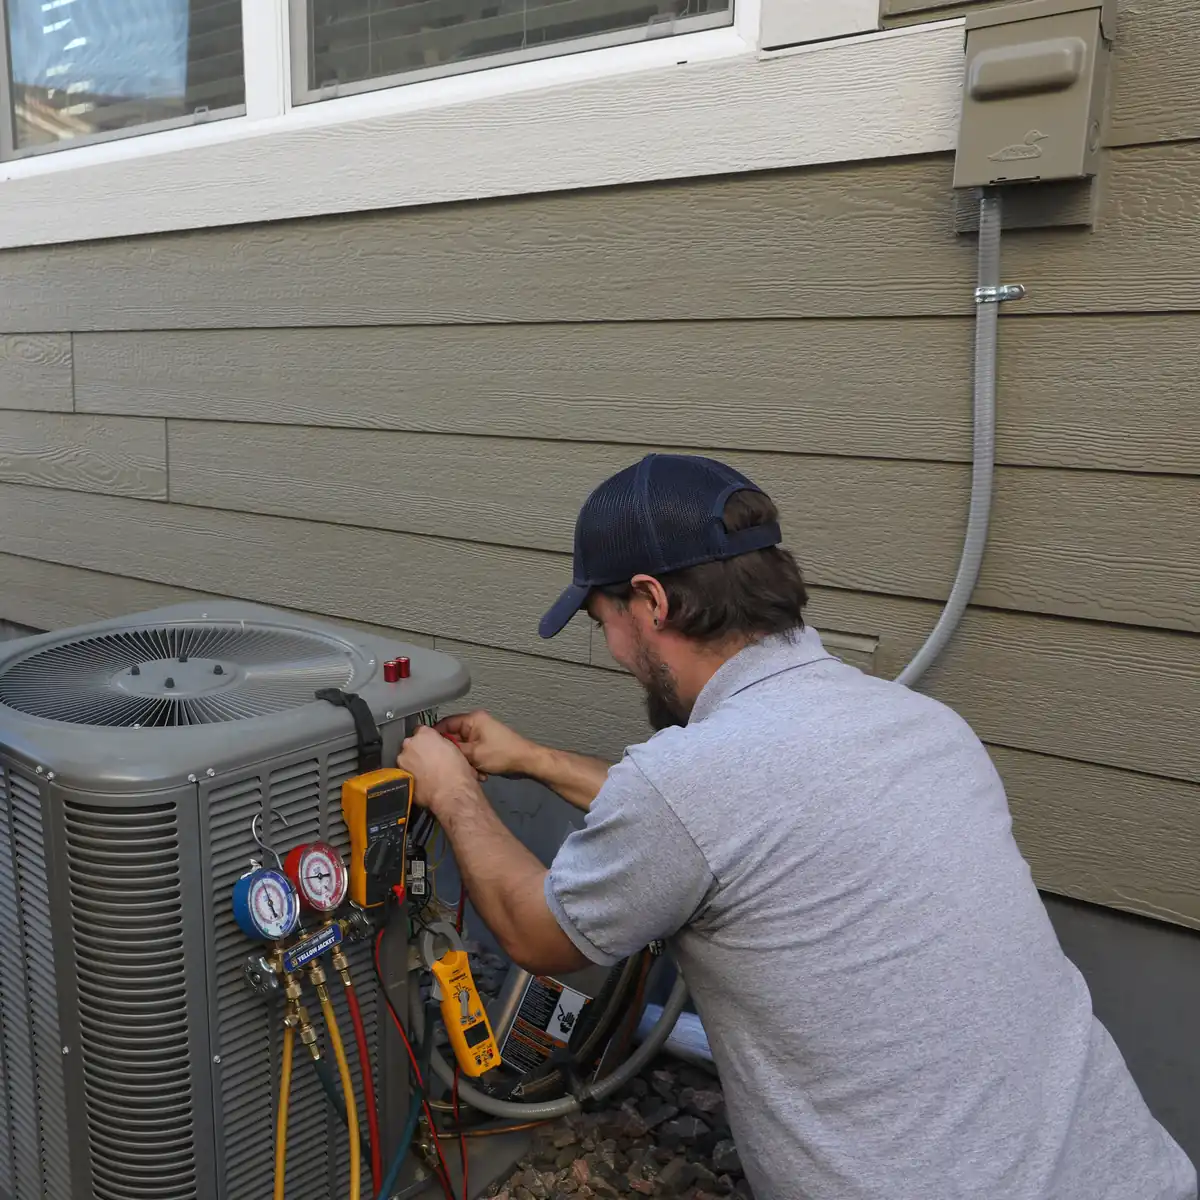
When your air handler refuses to switch on during a hot summer day in Denver, it can cause a significant amount of stress. To beat the heat, you can use our air handler troubleshooting guide to remedy minor issues. For major repairs, electrical work, and anything involving refrigerant, you’ll need to reach out to Elkhorn Heating, Air Conditioning, Plumbing & Electrical for professional repairs.
What an Air Handler Does and Why Symptoms Can Be Confusing
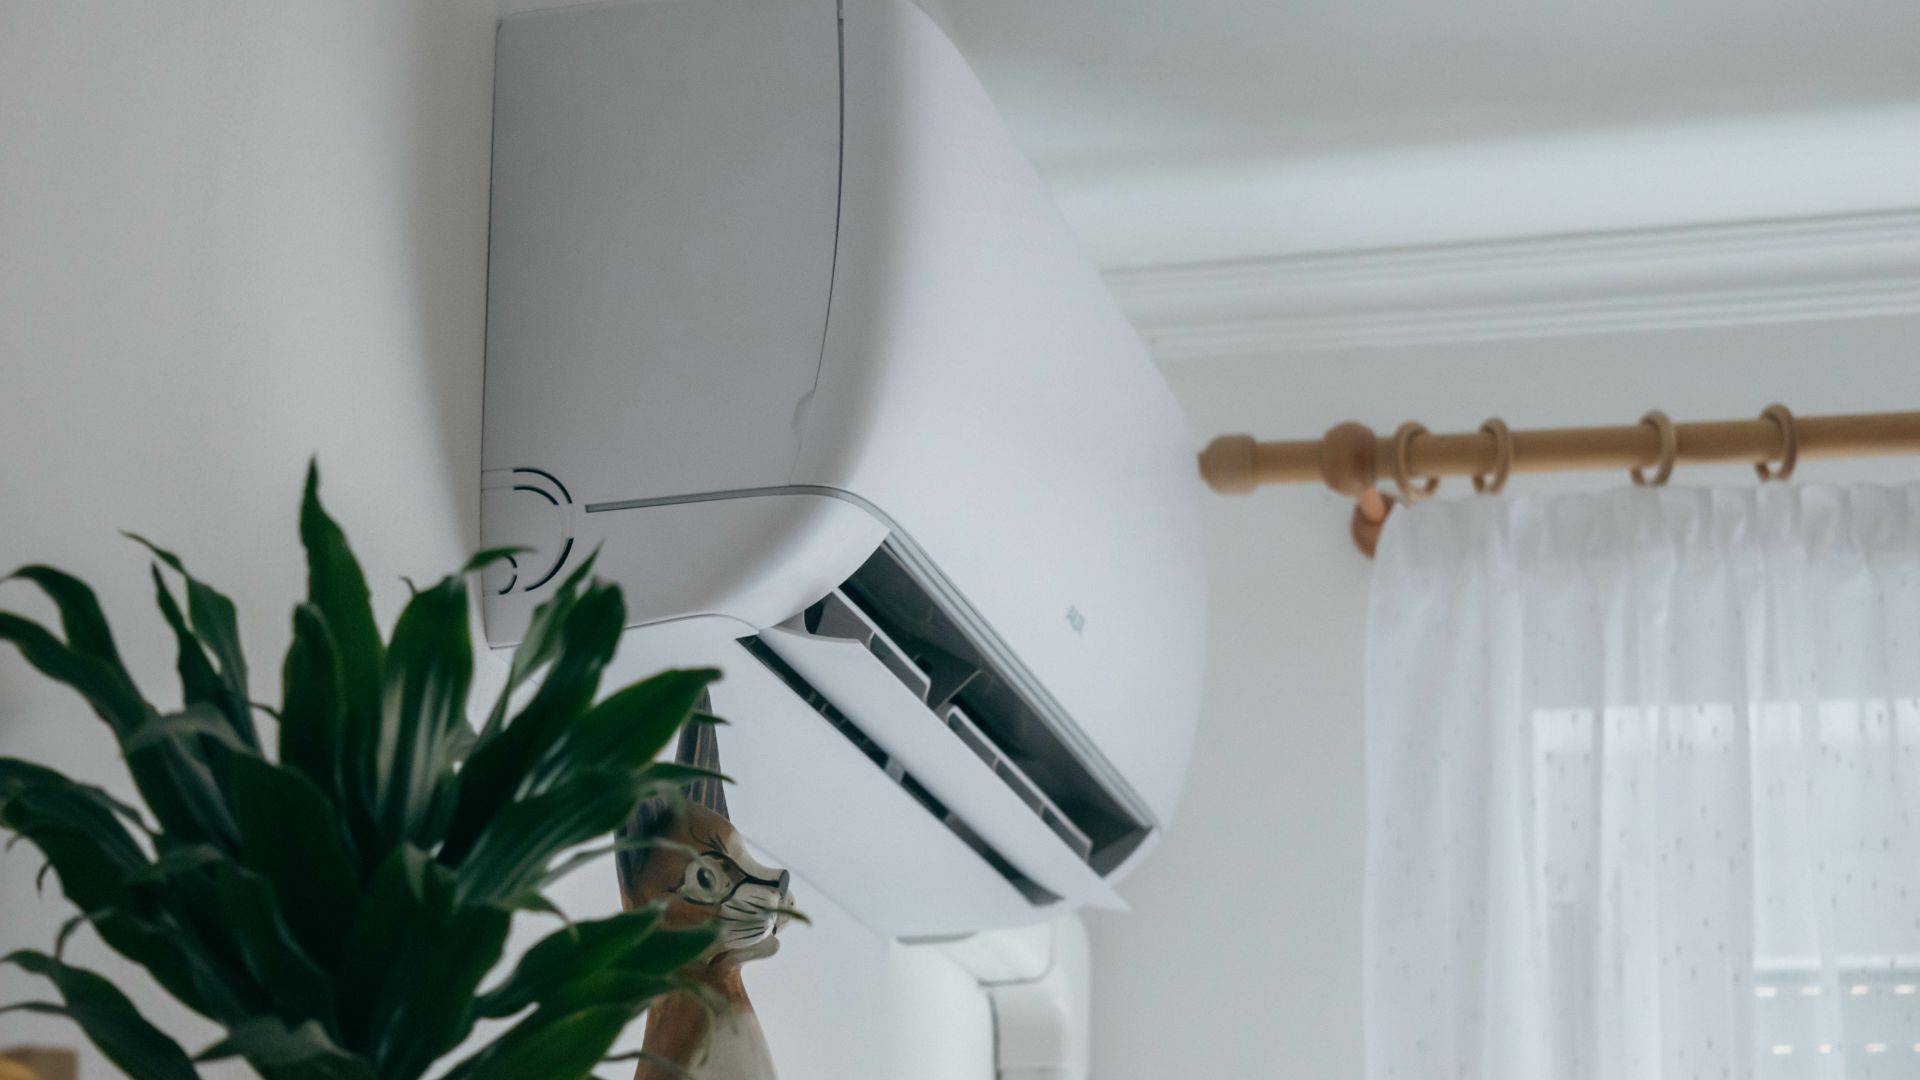
An air handler is an indoor unit or assembly that’s responsible for moving conditioned air throughout your home. The blower motor, evaporator coil, and controls are housed inside the air handler cabinet. When the thermostat signals the air handler’s control board, your blower motor and other components start working. Then, the blower motor powers the blower fan to push air into your home.
During this process, airflow is pushed over the evaporator coil, which is a network of refrigerant tubing and fins that absorbs heat from the air. The refrigerant absorbs heat from the air. Water condenses around the coil like it does around a glass of ice water. As the water drips, it is collected in a drain pan and drained outside your home through a condensate drain line.
If any of these components stop functioning, your air handler will stop working. Because the air handler sits at the nexus of your system, an air handler issue can also appear like an AC, furnace, heat pump, thermostat, or ductwork problem.
In Denver and Littleton, there are additional factors that can affect your air handler’s functionality. Many homeowners have heating, ventilation, and air conditioning (HVAC) equipment in their closets, basements, attics, and utility rooms. Because HVAC equipment is often hidden away, it can make it harder to inspect and notice issues in a timely way.
Our local HVAC systems must also deal with dust, wildfire smoke residue, and cottonwood. Thanks to our rapid heating-to-cooling season transition, there’s also an added strain on filters, coils, and airflow.
Quick Symptom Map for Homeowners
To determine the type of air handler problem you’re dealing with, it helps to first consider the symptoms.
- No Air From the Vents: Often, this type of symptom occurs if the blower motor isn’t pushing any air through the system. Similarly, an issue with the control board, safety switch, power supply, or thermostat signal can also prevent the air handler from turning on and running properly.
- Poor Airflow: Dirty filters, ductwork restrictions, clogged coils, blower speed issues, and an aging motor can all result in airflow problems.
- Fans Run Constantly: If your fans seem to run all the time, your relay may be stuck, or there could be a control board issue. Wiring problems and fan settings can also cause this to occur.
- Outdoor Unit Runs, but Fan Won’t Start: When this symptom happens, you may have an issue with the control board, indoor blower, capacitor (if equipped), relay, or motor.
- AC Air Feels Warm: An air conditioner may struggle to cool the air if there’s a problem with your outdoor unit, such as if the compressor is broken or the unit’s breaker has tripped. Frozen evaporator coils, low refrigerant levels, and airflow restrictions can also cause air to feel warm when it comes out of vents.
- Water Near the Indoor Unit: Water near your indoor unit can often occur if your condensate AC pump fails, your condensate drain line is clogged, or the float switch isn’t working. Frozen coils can also cause pooling water if the melting ice overwhelms the unit’s drainage system.
Blower Fan and Motor Problems
Normally, your blower fan is responsible for moving air across the evaporator coil and through your ductwork. When your blower motor is not running, it may cause slow or no airflow. You may also notice burning odors, vibrations, humming sounds, intermittent starts, and buzzing noises. Often, the fan will shut down after just a few minutes.
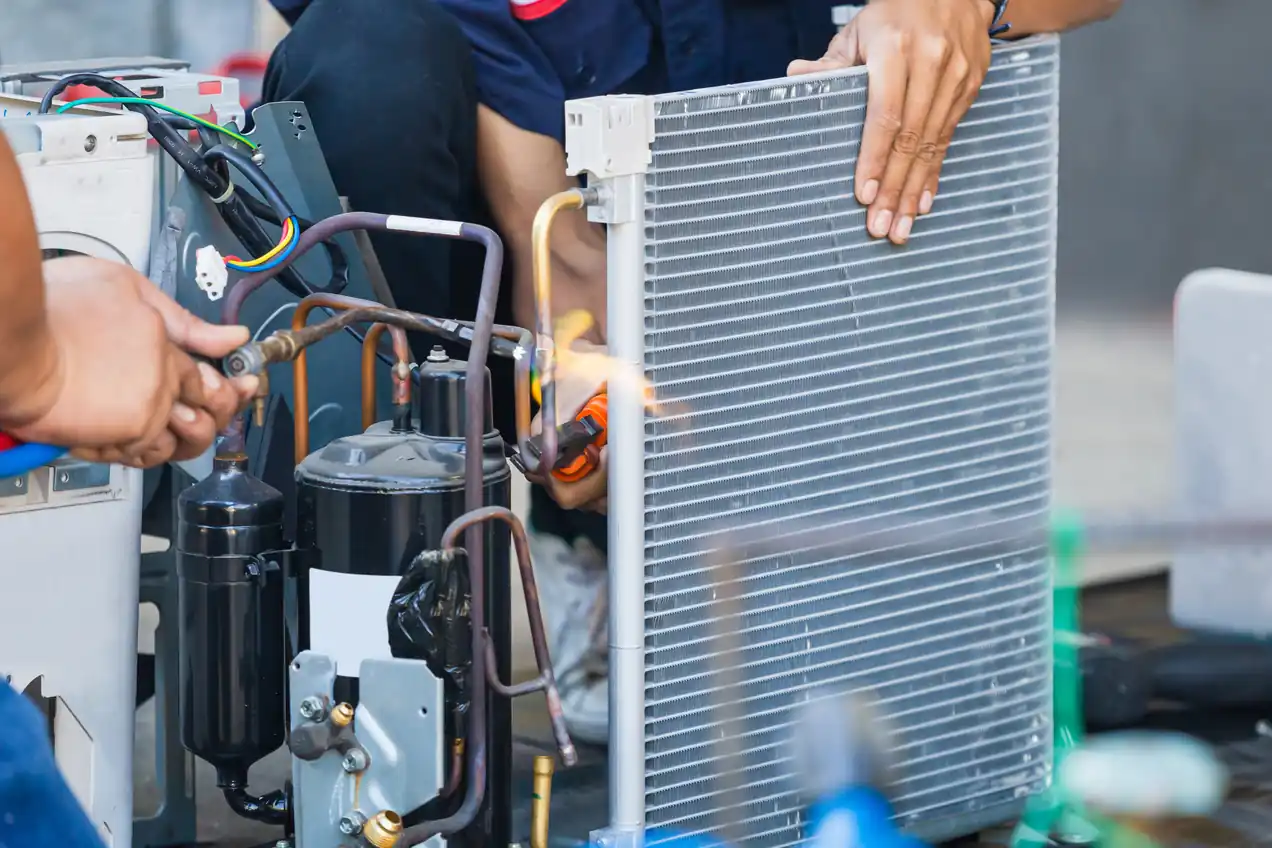
Blower motors can struggle if there is overheating, capacitor malfunctions, or wiring issues. Additionally, worn motors, dirty blower wheels, and bad belts on older systems can also be an issue.
As a homeowner, you can easily check the air filter and fan settings. Then, remove any blockages or obstructions in front of the vents and returns. You should also note any unusual behaviors so that you can share them when a comfort specialist arrives for your diagnostic appointment.
If basic troubleshooting doesn’t help, you can reach out to us for your Denver air handler repairs. Our team will test the motor and capacitor. Then, we’ll check the amperage and look for other blower compartment issues. Once we’ve diagnosed the problem, we can recommend the best AC or heat pump repairs for your home.
Control Board, Relay, and Transformer Issues
The control board is like the brain of your HVAC system and is responsible for coordinating system operations. When your control board, relay, or transformer is at fault, your blower motor might not run, or the system may start and then stop. Error lights, a fan running constantly, and intermittent operation are also signs of this issue.
Transformers and relays also support electrical components that can lead to an air handler fan not working and unusual control behavior. As a homeowner, these aren’t components that are safe for you to deal with. While you can note error codes, unusual sounds, and performance changes, you shouldn’t remove the covers or probe wiring. Instead, call Elkhorn to schedule your AC, heat pump, or furnace repairs.
Airflow Restrictions and Indoor Comfort Clues
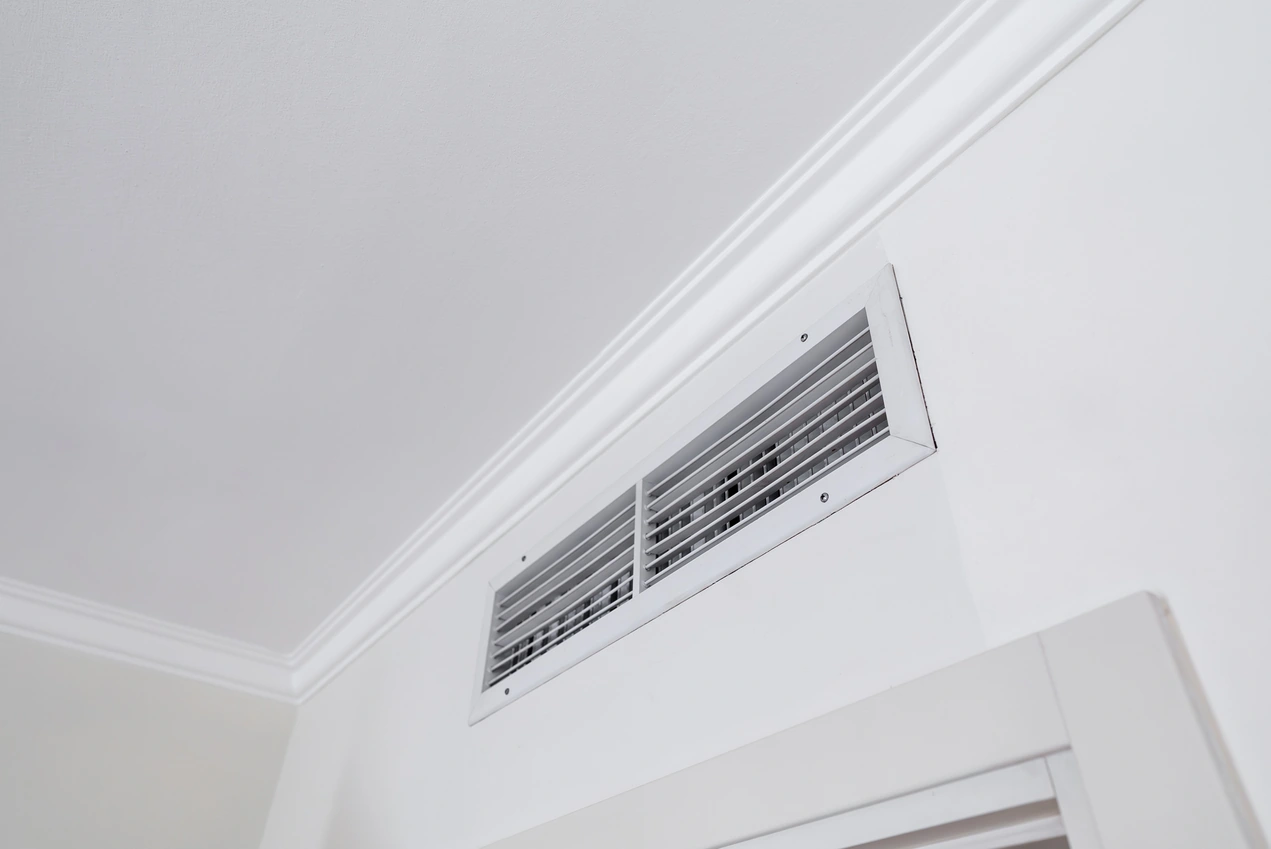
Littleton HVAC airflow problems can be the source of your performance issues. For example, a clogged air filter, blocked return grille, or closed supply vents can restrict the amount of air that makes it to each room.
While you can address a dirty air filter or a closed vent on your own, other airflow restriction issues would need to be handled by a professional. Clogged blower wheels, dirty evaporator coils, incorrect blower speeds, failing motors, and damaged ductwork must be addressed by an experienced HVAC technician.
In the Denver and Littleton area, we face unique challenges. Dust-heavy homes, renovation debris, pets, and wildfire smoke seasons can quickly clog air filters. Additionally, home additions, room changes, and finished basements can change your home’s airflow needs.
Frozen Coil, Drainage, and Safety Switch Overlap
An air handler’s frozen coil can also result in performance problems. If there are airflow restrictions, it can cause your evaporator coil to freeze. When this occurs, you may notice weak airflow, poor cooling performance, and short cycling. If your system uses an AC pump, the melting ice from the coil can end up triggering a float switch shutdown if it overwhelms the pump’s reservoir.
If there is visible ice on the coils, the water is backing up, or your system keeps shutting down, turn off the unit. Then, call for professional diagnostics and repairs.
Homeowner-Safe Troubleshooting Checklist
As a homeowner, there are a few safe steps you can perform on your own.
Check 1: Confirm the Thermostat Settings
First, make sure the thermostat has the right mode, set point, and fan setting.
Check 2: Replace the Filter
Check the filter to see if it is dirty or overdue for a replacement.
Check 3: Open Returns and Supply Vents
Go through your home to verify that all of your returns and supply vents are open and unblocked.
Check 4: Look for Unusual Symptoms
From a safe location, note any indications of ice, unusual smells, water, or error lights.
Check 5: Listen for Unusual Sounds
Pay attention to any unusual buzzing, clicking, vibration, or humming noises. Also, listen for repeated start attempts.
Check 6: Note When It Happens
While your unit is running, pay attention to which mode and situations it occurs in.
For the safety of your home and HVAC system, you should never bypass switches, open electrical panels, or test capacitors on your own. Additionally, don’t continue running a system if it has a burning odor or ice buildup.
When To Call for Same-Day Services
If basic troubleshooting doesn’t help, our team is just a phone call away. We recommend calling for same-day services if you experience any of the following situations.
- The weather is especially hot or cold, and your AC isn’t producing any airflow.
- You noticed a burning smell, indicating a potential electrical hazard.
- The evaporator coil keeps freezing.
- Your breaker keeps tripping.
- Your outdoor unit is running, but the indoor blower isn’t moving any air.
- The fan runs constantly.
- When you change the thermostat temperature, the fan doesn’t respond.
- There is an active refrigerant or water leak.
- The safety shutoff keeps turning on.
Our comfort specialists are here to help with all of your HVAC problems. We offer same-day services, upfront pricing, and no hidden fees. Plus, we provide a money-back guarantee, so you can feel confident about the quality of your results.
Repair vs. Replacement: Which Option Is Right for Your Home?
After air handler troubleshooting, the actual repair is often relatively fast. If the fix involves replacing or repairing the capacitor, relay, filter, motor, drain, thermostat, or control board, performing the repair is likely the best course of action. Similarly, blower cleaning is straightforward and relatively inexpensive.
While repairs and maintenance are the best choice in some circumstances, this isn’t always the case. An AC replacement or new furnace installation may be necessary if the unit is already getting older and requires frequent repairs. If you do need to replace the unit or perform major repairs, our 100% no-interest financing can help with budgeting.
Remember Your Maintenance and Prevention
Preventive maintenance is one of the most important things you can do to avoid future issues. As a homeowner, you should change the air filter every 30 to 90 days and schedule routine maintenance. Elkhorn makes routine maintenance easy through our Whole Home Comfort Plan and complimentary tune-ups.
During the tune-up, our comfort specialists will clean the blower and inspect your drain line for clogs. Then, we can inspect and clean the coils. We will check your thermostat, balance your airflow, and run performance tests to make sure that everything is in working order.
Frequently Asked Questions
Why is my air handler not blowing air?
If your air handler isn’t blowing air, it could be due to a few common symptoms. For example, a failed blower motor will keep air from getting distributed into your home. Issues with the relay or transformer, control board malfunctions, a frozen evaporator coil, problems with the thermostat’s signaling, tripped safety switches, and dirty air filters can also keep the air handler from blowing air.
How do I know if the air handler control board is bad?
Common air handler control board symptoms will indicate if the board itself is the problem. For example, a fan running constantly and intermittent starts can happen if the control board is faulty. Any time the system doesn’t respond to thermostat calls, there are flashing error codes, or the blower motor’s behavior doesn’t match your thermostat settings, you may have a control board malfunction.
What causes weak airflow from vents?
Two of the most common and preventable reasons for weak airflow from vents are clogged filters and obstructed or closed vents. If replacing the filter and opening vents doesn’t improve the airflow, you may be dealing with a dirty coil, ductwork restrictions, blower motor malfunctions, or a dirty blower wheel. All of these problems should be addressed by a professional HVAC technician.
What air handler checks should homeowners not try?
While many routine maintenance tasks can be safely performed by homeowners, you should never handle any refrigerant or electrical components yourself. Additionally, leave control board diagnoses, motor testing, and capacitor testing to the experts.
Troubleshoot Your Air Handler Issues
If you’re struggling with poor airflow, system shutdowns, or a malfunctioning air handler fan, our air handler troubleshooting can help. With Elkhorn, you can schedule same-day services throughout the Littleton and Denver area.
Our comfort specialists can walk you through airflow, control board, and motor issues. We provide no-pressure consultations, so you can make stress-free decisions about whether to repair or replace your system.
Schedule your HVAC diagnostic appointment today.